Our Location
304 North Cardinal St.
Dorchester Center, MA 02124

304 North Cardinal St.
Dorchester Center, MA 02124
Transform your space with mesmerizing mosaic art that reflects your personality. Begin by selecting a theme that resonates with your style–floral patterns, abstract shapes, or geometric designs serve as excellent choices. Gather materials like glass tiles, ceramics, or even stones to create a unique texture and visual impact.
Consider the color palette that aligns with your interior design. Bold, contrasting hues can make a statement, while soft pastels add a touch of elegance. Create a sketch of your design on paper, allowing for adjustments before committing to your mosaic. Planning upfront ensures a harmonious final piece.
Assemble your mosaic directly on a sturdy backing. Use glue to secure each piece in place, ensuring you leave small gaps for grout. This will enhance the overall structure and provide a finished look. Once dry, apply grout between the tiles and wipe away excess for a clean finish. Your artistry will shine brilliantly on the wall, introducing life and creativity to your home.
Choose a strong base, such as plywood or cement board. These materials offer durability and stability for your mosaic pieces. Ensure the surface is clean and flat to prevent any shifting.
Opt for tiles made from ceramic, glass, or stone. Each material brings its own aesthetic and texture. Ceramic tiles are affordable and come in various colors, while glass tiles reflect light beautifully. Natural stone offers a unique, organic feel.
Consider using smalti or other specialty glass products. This type of glass provides rich colors and depth due to its thickness and uneven surface, which enhances light interaction.
Select adhesives wisely. Thin-set mortar works well for heavier materials, while glue designed for crafts is ideal for lighter pieces. Make sure the adhesive is suitable for the materials you’ve chosen.
When it comes to grout, choose a type that complements your mosaic’s color scheme. Sanded grout is best for larger joints, while unsanded grout is ideal for smaller spaces. Sealing grout can protect it from staining and moisture.
Stock up on safety gear, such as gloves and goggles. Cutting tiles can create sharp edges and dust, making safety a priority during your crafting process.
Choose a theme that resonates with your personal style or the decor of the space. Whether it’s nature, abstract patterns, or geometric shapes, a clear theme guides your design choices. Sketch your idea on paper; this helps visualize proportions and layout before diving into actual materials. Consider the color palette carefully. Select colors that complement each other and evoke the desired mood for your room.
Research different materials, such as glass, ceramic, or stone. Each offers unique textures and colors, influencing the final look. Gather samples and test combinations to see how they work together. Pay attention to the size of your mosaic pieces. Larger pieces create bold statements, while smaller ones allow for intricate detail.
Measure the wall space to ensure your design fits. Use painter’s tape to outline your layout on the wall, which helps visualize the scale and spacing. Experiment with different arrangements before committing. It’s possible to capture movement by staggering pieces or creating a flowing pattern. Keep in mind the installation process; ensure that your design allows for easy handling of materials.
Using the right tools simplifies the process of cutting mosaic tiles. A glass cutter, tile nippers, or a wet saw will serve you well. Choose based on your tile material and project size.
Frequent practice will enhance precision, making your cutting skills impressive over time. Enjoy the process and create stunning designs!
Begin with a clear design plan. Use graph paper or a digital design tool to sketch out your mosaic. This serves as a blueprint, guiding you on color distribution and tile placement.
Select your materials wisely. Glass, ceramic, and natural stone offer varied textures and colors. Consider factors like durability and light reflection when choosing material types.
Cut tiles to size for better fitting. Utilize a tile cutter or glass nippers for precision. Ensure safety by wearing protective eyewear and gloves during this process.
Prepare your workspace. Use a sturdy surface and organize your tiles by color or type to streamline your assembly process. This setup enhances your efficiency and focus.
Adopt a layering technique. Start with a strong adhesive layer on your base. Apply tiles, pressing them into the adhesive firmly. Allow the adhesive to set before moving to the next section.
Use spacers for uniform gaps. These small tools help maintain even spacing between tiles, creating a polished look once grouted. Adjust spacers as needed while placing tiles.
Mix grout according to instructions. Achieve a smooth consistency, then apply it over the tiles with a grout float. Ensure all gaps are filled completely, then wipe excess grout off the tile surface gently.
After the grout dries, apply a sealant. This protects your artwork from moisture and stains, enhancing its lifespan. Choose a sealant suitable for the materials used.
| Technique | Description |
|---|---|
| Design Planning | Sketch out your mosaic layout to guide your assembly. |
| Material Selection | Choose from glass, ceramic, or stone based on texture and color. |
| Tile Cutting | Use proper tools for precise tile sizes and safety measures. |
| Workspace Preparation | Organize tiles for an efficient assembly environment. |
| Layering Technique | Apply tiles in layers with strong adhesive to build your artwork. |
| Use of Spacers | Maintain even gaps between tiles for a cohesive look. |
| Grouting Process | Apply grout to fill gaps, ensuring a smooth finish. |
| Sealing | Protect your final artwork with a suitable sealant. |
Review your mosaic artwork once finished. Make any adjustments or repairs needed before displaying it proudly on your wall. Each piece you create will reflect your unique style and effort.
Apply a high-quality sealant to preserve your mosaic’s beauty and longevity. Select a sealant designed specifically for the materials used in your mosaic, whether it’s glass, ceramic, or stone. A waterproof sealant can prevent moisture damage and staining, ensuring your art remains vibrant.
First, clean the surface thoroughly to remove dust and debris. A soft brush or damp cloth works well for this task. Once dry, use a paintbrush or roller to apply the sealant evenly across the mosaic. Pay attention to the edges and joints to ensure complete coverage. Allow the first coat to dry completely before applying a second layer for optimal protection.
Regularly inspect your mosaic for any signs of damage or wear. Clean it with a mild soap solution and a soft cloth to avoid scratching. If you notice any chips or cracks, consider touching up the sealant to maintain its protective barrier. Protect your mosaic from direct sunlight to prevent fading, especially if it’s displayed outdoors.
Use spotlights to direct focused illumination onto your mosaic art. This technique highlights intricate details, allowing colors and textures to pop. Place adjustable LED spotlights above or to the side of your mosaic. Experiment with different angles to find the most flattering light direction.
Select a color temperature that complements your mosaic. Warm white light (2700K-3000K) creates a cozy atmosphere, while cool white (4000K-5000K) enhances clarity and precision. Assess how the light interacts with the tile colors for a visually appealing effect.
Consider backlighting your mosaic using LED strips. This technique can create a stunning silhouette effect against the wall, adding depth and intrigue. Ensure the backlight is dimmable to adjust the mood according to the setting, allowing for flexibility in ambiance.
To start creating a mosaic wall art DIY project as a beginner, gather necessary materials such as ceramic pieces, glass gems, broken pieces, and a type of adhesive suitable for indoors or outdoors. Choose a simple design and sketch it onto your base. Use the indirect method if you want a smooth surface, or directly place tessera onto the surface. Cut the tiles or glass pieces carefully and arrange them to create your design. Once satisfied, it’s time to glue them in place. After letting it dry, apply grout, wipe off the excess, and enjoy your finished piece.
When making a mosaic tile wall art for outdoor decor, choose durable materials such as glass mosaic, stained glass, ceramic pieces, and epoxy-based adhesive to withstand weather conditions. Outdoor mosaic projects also require grout that is resistant to moisture. To ensure a long-lasting art piece, use a sealant after the grout is dry. Creating mosaics for an outdoor wall can be both functional and beautiful, turning a plain space into a stunning mosaic mural.
Mod Podge can be used in the process of creating a mosaic mirror as a sealant or to adhere lightweight tessera like glass gems and stained glass pieces. First, design onto the mirror frame and arrange your glass pieces. Apply Mod Podge to stick them down if using paper backing or lightweight materials. Let dry completely before applying grout. Once your handmade mosaic mirror is finished, you can also seal it with another layer of Mod Podge for extra protection.
A wooden mosaic wall art can be a versatile piece of art in home decor. It can be used as a statement wall decor in the living room, a headboard in the bedroom, or a unique background for shelves. If designed with a mosaic pattern, it can bring a modern or rustic feel, depending on the type of wood and stain used. Creating a mosaic with wooden pieces allows for endless artistic possibilities, making it an art form that complements various interiors.
A DIY mosaic is a creative way to decorate your home by adding color and texture to various surfaces. You can use small tiles, broken ceramics, or glass pieces to create unique patterns on tables, mirrors, or flower pots. Visiting a craft store will provide you with the necessary materials, including adhesive and grout, which is used to fill the gaps between tiles and secure them in place.
To learn how to make a glass mosaic wall, you can take online courses, attend workshops hosted by a mosaic artist, or visit local art studios that offer hands-on training. The process involves arranging glass pieces on a surface, securing them with adhesive, and applying grout to complete the design. Many craft stores sell mosaic kits that include all the essentials for beginners.
Creating stepping stones with a mosaic design requires concrete, mosaic tiles or broken ceramics, adhesive, grout (which is used to fill spaces and secure the design), and a mold for shaping the stone. Epoxy can be applied for extra durability, ensuring that the artwork withstands outdoor conditions. A crafty approach allows for personalized designs, making each piece unique.
A mosaic house stands out when a mosaic artist carefully selects colors, patterns, and materials to enhance architectural features. Art made with ceramic tiles, glass, and stones can be applied to walls, floors, or outdoor spaces. Epoxy coatings provide protection, while grout is used to keep the design intact. A well-planned mosaic can turn an ordinary home into a vibrant work of art.
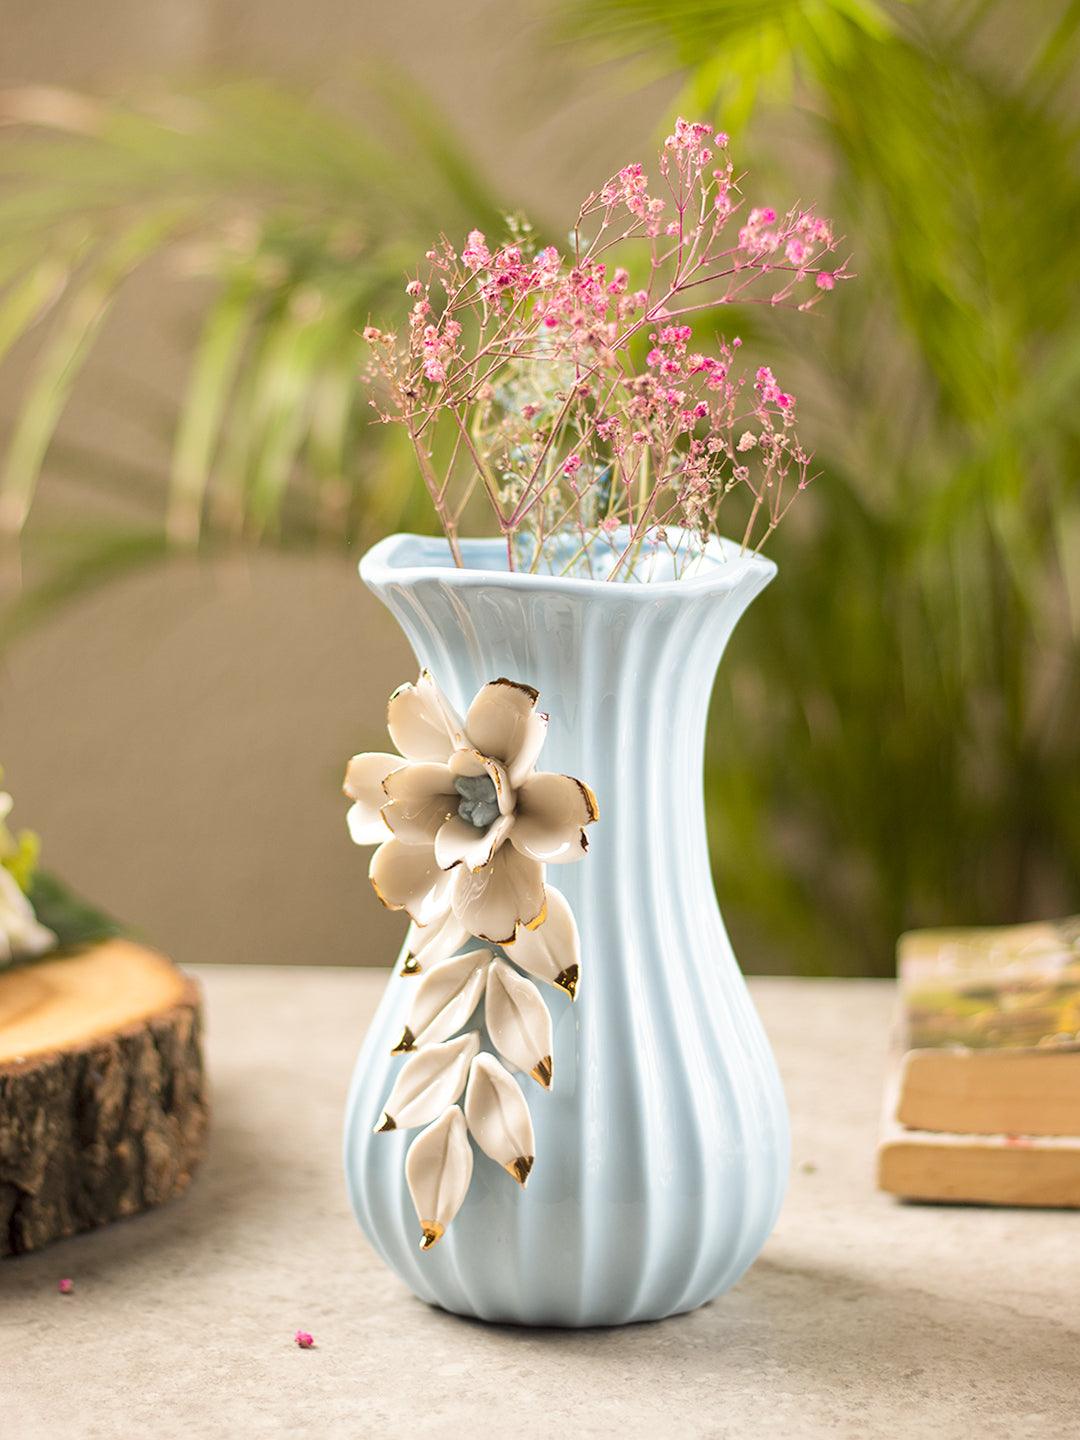
Add a touch of elegance and style to your home with our stunning Curvy Ceramic Flower Vase. This beautifully crafted […]
To add functional and stylish pockets to your Pietra pants or shorts, begin by selecting the right fabric for your […]
If you are searching for a lighting fixture that combines elegance, simplicity, and a touch of Japanese tradition, look no […]
In this fascinating realm, where imagination knows no bounds, artists have mastered the art of transforming humble clay into extraordinary […]