Our Location
304 North Cardinal St.
Dorchester Center, MA 02124

304 North Cardinal St.
Dorchester Center, MA 02124
Measure twice, cut once–this old adage rings true, especially when working on your Bombshell Sewalong project. Before grabbing your scissors, lay out your fabric flat on a clean surface to avoid any creases or distortions. Use a cutting mat to protect your work area and ensure cleaner cuts.
Next, invest in a good pair of fabric scissors. Dull blades can lead to jagged edges and uneven cuts, which can throw off your entire project. Regularly sharpen your scissors or replace them if they’ve lost their cutting edge. Keep your scissors solely for fabric to maintain their sharpness.
Utilize weights instead of pins when cutting your fabric to avoid pinholes and distortions. Fabric weights help keep the material flat and in place, allowing for more accurate cutting lines. Choose weights with a rubber or felt bottom for better grip and stability.
Always cut along the grain of the fabric. Identify the straight grain, bias, and cross grain before you start. Align your pattern pieces accordingly to ensure proper drape and fit. Making accurate cuts at this stage promotes a smoother sewing experience down the line.
After making your cuts, take the time to label your pieces. Use fabric markers or tagging to note which part belongs where. This small step saves you from confusion as you begin the sewing process and keeps your work organized.
Select a fabric that complements your design vision. For form-fitting garments, opt for blends with stretch, such as spandex cotton or jersey. These materials hug the body and allow freedom of movement, perfect for creating a bombshell look.
Think about the drape. Fabrics like silk or rayon cascade beautifully, adding elegance to dresses and skirts. On the other hand, if you want structure, denim or canvas will hold shape and create a more tailored appearance.
Evaluate the finish. Glossy fabrics, like satin, can elevate a design, giving it a luxurious touch, while matte finishes offer a more understated look. Consider the occasion for your project; different finishes set the mood.
Don’t forget about care instructions. Choose a fabric that matches your lifestyle. If you prefer low-maintenance options, opt for machine-washable materials. Delicate fabrics may require dry cleaning, adding to your project’s upkeep.
Finally, test swatches before committing. Purchase small pieces to see how the fabric behaves in terms of stretch, drape, and color. This will help you make informed decisions and ensure your finished product aligns with your expectations.
Before cutting your fabric, wash it according to the care instructions to prevent shrinkage later. After washing, press the fabric to smooth out any wrinkles and ensure accurate cutting. Use a steam iron if necessary, but always test on a scrap piece first.
Next, lay the fabric flat on a clean, cutting surface. Align the selvage edges, which are the finished edges, to ensure straightness. Use weights or pins to keep the fabric in place, minimizing movement while cutting.
Consider the fabric grain. The grainline runs parallel to the selvage edges. For most patterns, you want to cut along the grain for a better fit and drape. Mark the grainline on your pattern pieces if needed, to help with alignment.
For accuracy, use a rotary cutter and a cutting mat, or fabric scissors. A rotary cutter provides cleaner edges, while scissors can be easier for navigating curves. Always cut from the right side of the fabric for a neat finish.
Check your pattern pieces for notches and markings. Transfer these onto your fabric using tailor’s chalk or a fabric marker, as they guide you during assembly. This will save you time and ensure precision during construction.
| Step | Action |
|---|---|
| 1 | Wash and press the fabric |
| 2 | Lay fabric flat and align edges |
| 3 | Check grainline and mark as needed |
| 4 | Use appropriate cutting tools |
| 5 | Transfer pattern markings |
Following these preparations will set a strong foundation for a successful sewing project. Enjoy cutting your fabric with confidence!
Use sharp fabric scissors for clean cuts. Dull blades can create frayed edges, affecting the overall look of your project. Keep your scissors dedicated to fabric only to maintain their sharpness. Investing in high-quality scissors may save you time and frustration.
A rotary cutter paired with a cutting mat offers exceptional precision, especially for long, straight cuts. Opt for a ruler to guide your cuts and ensure accuracy. This combination allows you to achieve professional results effortlessly.
Select a self-healing cutting mat to protect both your blades and surfaces. Look for a mat with clear grid lines to help in aligning your fabric easily. A proper-sized mat accommodates your fabric pieces while providing ample workspace for cutting.
Always have accurate measuring tools like a tape measure or quilting ruler on hand. Measure twice before cutting to prevent mistakes. Using tailor’s chalk or fabric markers for marking cutting lines ensures precision without leaving a permanent mark on your fabric.
Begin by recognizing the three main types of fabric grain: lengthwise, crosswise, and bias. Lengthwise grain runs parallel to the selvage and provides the most stability and strength. Always align your pattern pieces along this grain when you want a fitted look.
Crosswise grain runs perpendicular to the selvage. It has a bit more stretch than lengthwise grain, making it suitable for areas requiring some ease, like sleeves or relaxed fits. Proper alignment here is crucial to ensure the garment drapes as intended.
Bias grain, which cuts diagonally across the fabric, allows for incredible stretch and flexibility. Use bias cuts for flared skirts or sleeves to achieve a flowy effect. Be mindful of pattern distortion; bias pieces may require gentle handling during cutting and sewing.
Before cutting, always preshrink your fabric. A wash and dry will prevent future shrinkage that can distort your carefully planned grain alignment. Lay your fabric flat to avoid creases and pin the pattern pieces firmly. Use a ruler to measure grainlines and ensure accuracy.
When cutting, follow the grainline markings on your pattern. Misaligned grain can lead to twisted seams and an unflattering fit. If working with printed fabrics, ensure your print aligns with the grain for a polished finish.
Consider the fabric’s nap or pile. For materials like velvet or corduroy, cut all pieces in the same direction to maintain consistency in color and texture. Lay out all pattern pieces in a way that respects this direction.
Lastly, take extra care with curved edges. Using a rotary cutter can help achieve smooth cuts along curved lines while minimizing distortion. By understanding and respecting fabric grain and alignment, you elevate the quality of your sewing projects.
Use a cutting mat, rotary cutter, and a long straightedge to achieve clean cuts across multiple layers. Lay your fabric flat and smooth on the mat. This setup minimizes movement during cutting.
Stack fabrics with the right sides facing each other. Use weights or pins to secure the layers in place, ensuring they stay aligned while cutting. This prevents any slippage, resulting in more precise edges.
After cutting, check the edges for fraying and trim any uneven areas. This ensures the best results for your project and leads to a polished finish.
Use sharp scissors or a rotary cutter for clean edges. Dull blades can create frayed fabric, leading to inaccuracies in your cuts. Always keep your cutting tools well-maintained.
Double-check your fabric grain. Cutting against the grain can cause distortion, affecting how the garment hangs. Align the fabric so that it lies perfectly straight before making any cuts.
Secure your fabric with pins or weights to prevent slipping while cutting. This helps maintain alignment and ensures that you cut exactly where intended. Use fabric markers or chalk for clear markings that won’t wash away easily.
Confirm measurements against your pattern before cutting. Missing alignment can lead to pieces that don’t fit together. Allow extra seam allowance if you’re new to sewing or unsure of the fit.
To sew a bombshell swimsuit using swimwear fabric and a serger, first, choose a sewing pattern that includes detailed instructions. Cut on the fold as indicated on the pattern to ensure the fabric pieces are symmetrical. You’ll need a stretch needle and polyester thread to handle the elasticity of the fabric properly. When sewing swimwear, use a zigzag stitch or a serger for strong, flexible seams. Sew the gathering where needed, especially at the widest part of the suit, and baste two pieces together before using a final stitch. Time to pin everything accurately before stitching along the top and side seam to create a close-fitting garment.
When working with a bra pattern and stretch lace, use a marking tool to transfer the sewing pattern lines accurately. The fabric choice is important, so select knit fabric with good recovery. Stretch the fabric slightly while sewing elastic to prevent loose edges. For garment sewing, a zigzag stitch or straight stitch with a stretch needle will help maintain elasticity. If you’re sewing lingerie with a serger, adjust the settings to avoid trimming too much fabric. Hand sewing can help with delicate areas like the edge of the fabric or attaching stretch lace. If following a Watson sew along, refer to Cloth Habit for extra guidance on assembling bra pieces together.
To properly sew the elastic for a swimsuit and prevent puckering, use polyester thread and a stretch needle to maintain elasticity. First, baste the elastic to the wrong side of the fabric along the leg opening or waistband. Stretch the fabric evenly while sewing to match the elasticity of the fabric you are using. A zigzag stitch or a serger with wooly nylon in the loopers will create a smooth, flexible seam. Take the time to pin everything accurately before sewing elastic to ensure it lies flat without gathering fabric unevenly. If the swimsuit fabric is challenging to sew, using pattern weights or washers from the hardware store can help stabilize it while cutting.
To make a halter top swimsuit using a free pattern, first, figure out how to cut the swimsuit fabric accurately. Cut the back piece and front pieces together as indicated on the pattern, ensuring you have enough fabric for all sections. Use a stretch needle and polyester thread for machine sewing or hand sewing delicate seams. Sew the elastic along the top edge and leg opening, stretching it slightly to prevent sagging. If the swimsuit is close-fitting, take the time to pin each section properly before stitching. Sew along the side seam and crotch area, using a zigzag stitch or serger to maintain flexibility. If following a sew-along, check Closet Core Patterns or Watson Sew Along for additional guidance on sewing swimwear.
To sew a hem on a stretchy Lycra fabric without distorting it, use a stretch needle and polyester thread to maintain flexibility. A zigzag stitch or twin needle stitch works best for securing the hem while allowing the fabric to stretch. Before sewing, take the time to pin the hem using head pins or fabric clips to prevent shifting. If the fabric is slipping, a walking foot or tissue paper underneath can make things easier. Always test the stitch on a scrap piece to ensure the correct tension. Exhale all the way before stretching the fabric slightly while sewing to keep it from rippling.
For a professional RTW finish in lingerie sewing, start by choosing the right fabric from fabric stores, such as Lycra or stretch lace. Need to measure accurately and mark each line on the pattern before cutting. Using oak tag for durable pattern templates makes cutting more precise. Sew with a zigzag stitch or serger to maintain flexibility, and use a stretch needle to avoid skipped stitches. Take the time to pin delicate fabrics carefully with head pins to prevent shifting. For a close-fitting design, baste seams first and make adjustments before final stitching. A lingerie sewalong pt can provide extra guidance for complex techniques.
Fabric choice is crucial when sewing a close fitting dress because the stretch and recovery of the material determine the final fit. Lycra or other stretchy fabrics work best for contouring to the body without restricting movement. You need to measure correctly and follow the line on the pattern to ensure accurate cutting. Using oak tag for pattern templates makes cutting cleaner and more precise. When sewing, stretch the fabric slightly to maintain its shape and prevent overstretching. If the dress is designed to protect the skin from the sun, choose fabrics with UV protection. Take the time to pin each seam properly before sewing for a polished finish.
When preparing for a sewalong pt, start by gathering all necessary materials from fabric stores, including stretchy fabric, the correct needles, and high-quality thread. If I’m excited about a new project, I make things easier by organizing my tools, tracing the line on the pattern onto oak tag for durability, and pre-washing the fabric. Before cutting, need to measure carefully to ensure the best fit. Taking the time to pin fabric pieces with head pins prevents shifting. If I’m sewing a dress, I check if it’s a versatile design that can be styled in multiple ways. Exhaling all the way before making precise cuts helps keep a steady hand and improves accuracy.
Use the right dart shapes to create flawless Jasika blazer seams. Focus on a sharp, clean silhouette by experimenting with […]
Illuminate your space with a touch of whimsy and elegance with our collection of large mushroom table lamps. These unique […]
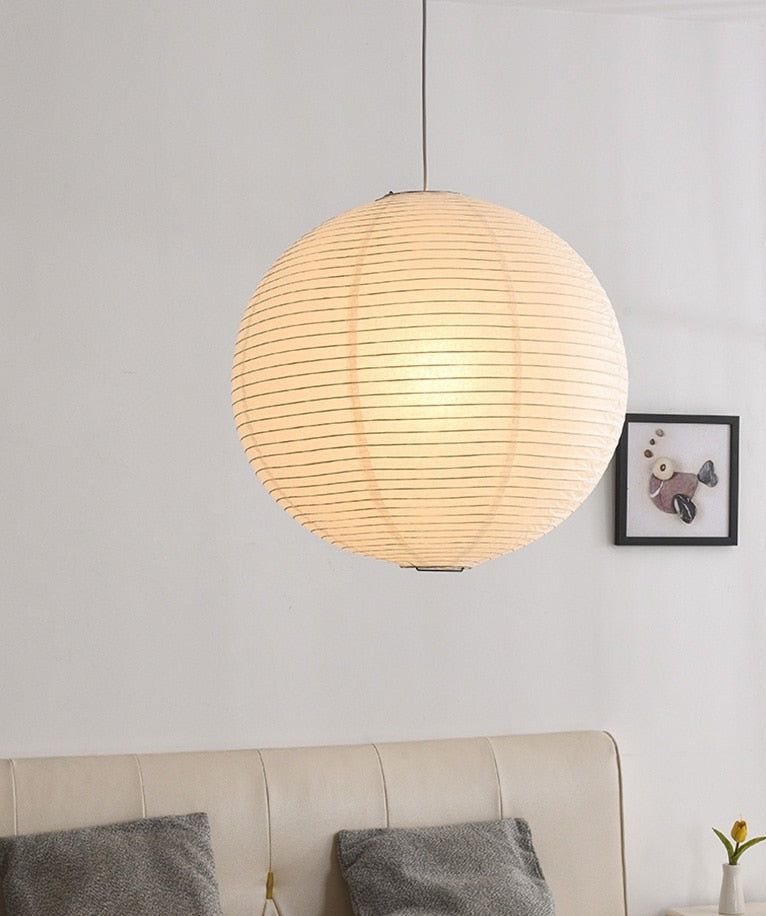
If you are searching for a lighting fixture that combines elegance, simplicity, and a touch of Japanese tradition, look no […]
Explore specific hand embroidery techniques that transform simple threads into stunning works of art. Begin with the back stitch, a foundational […]